Fabrication steps :
1. Prepare materials:
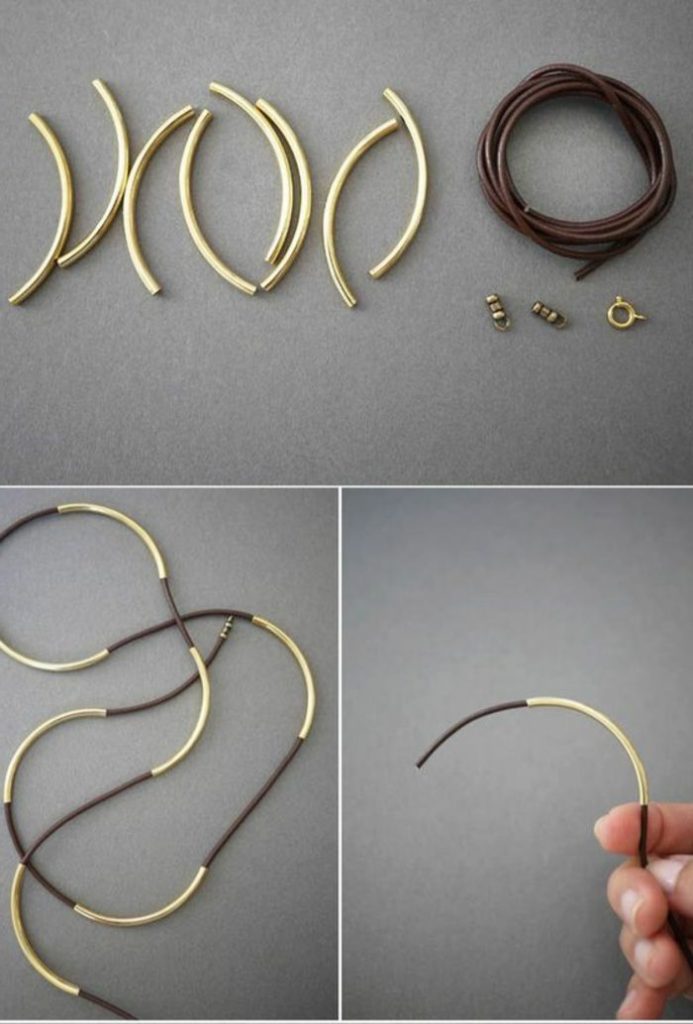
Choose the elastic wire or cord according to the style you wish to give your bracelet. Make sure the wire or cord is strong enough to support the beads you've selected.
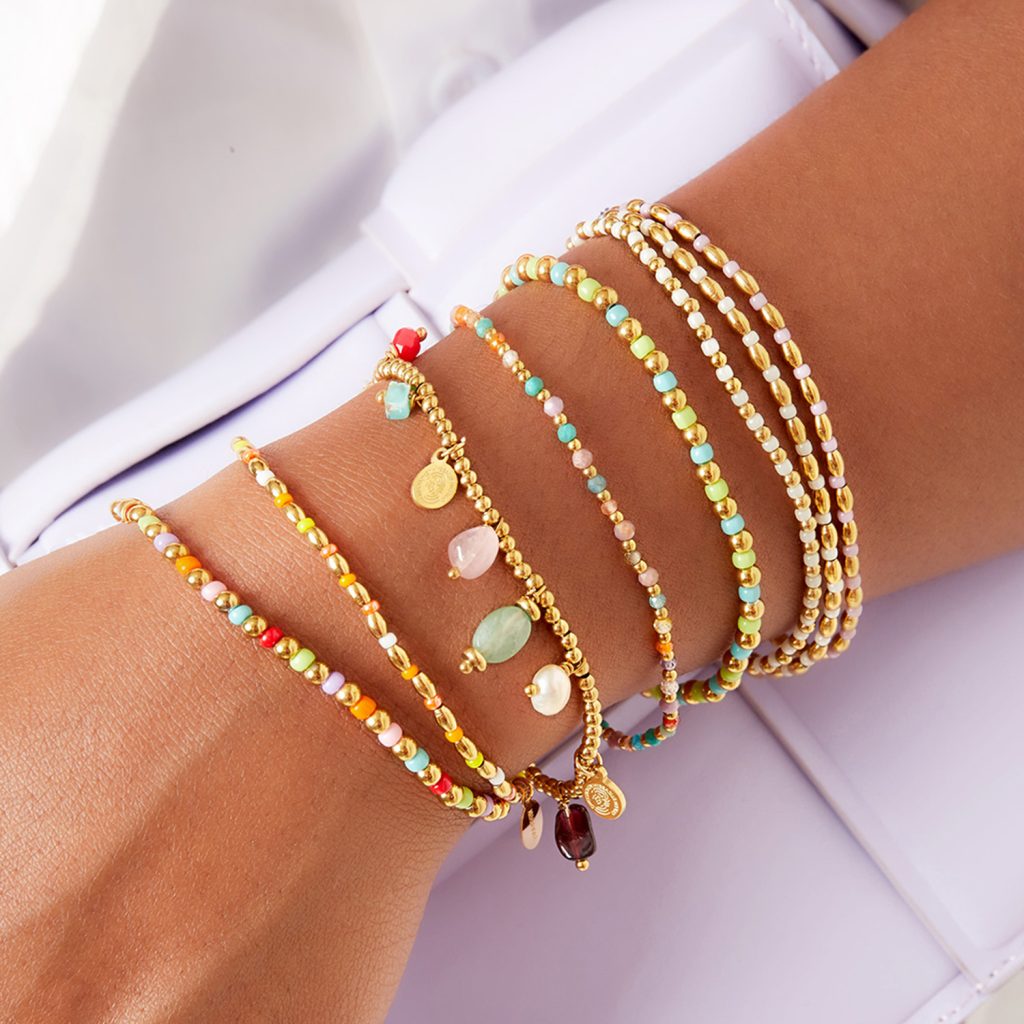
Select the beads you wish to use for your bracelet. You can choose a single color or mix different colors and sizes for a more varied look.
Make sure you have a clasp suitable for your project, as well as junction rings to attach the clasp to the bracelet.
2. Measure and cut:
Measure the circumference of your wrist and add a few extra centimeters to allow the bracelet to fit comfortably.
Cut the elastic thread or cord to the desired length.
3. Stringing the beads :
Start by threading a bead onto the elastic thread or cord.
Then string the other beads according to the design you've chosen. You can alternate colors, sizes or create a specific pattern.
Continue stringing beads until you reach the desired length for your bracelet.
4. Assembly :
Once all the beads have been strung, make sure the bracelet is the right length by trying it around your wrist.
Tie the two ends of the elastic thread or cord together in a secure knot. You can tie more than one knot for added strength.
Trim off any excess wire or cord near the knot.
5. Attaching the clasp :
Use joining rings to secure the clasp to one end of the bracelet.
Use jewelry pliers to open the ring slightly, attach it to the clasp, then close it securely.
Repeat this step to attach the other end of the clasp to the bracelet.
6. Finishing:
Check that all beads are secure and that the bracelet is firmly assembled.
If necessary, apply a small amount of jewelry glue to the knot to secure it further.
Allow to dry completely before wearing your bracelet.
Planning and Design
Before you start making your bracelet, take time to think about the style and design you want to create.
Sketch out your design on paper to get a clear idea of the layout of the elements and the dimensions of the bracelet.
Also consider practical aspects such as wrist size and the type of clasp to be used.
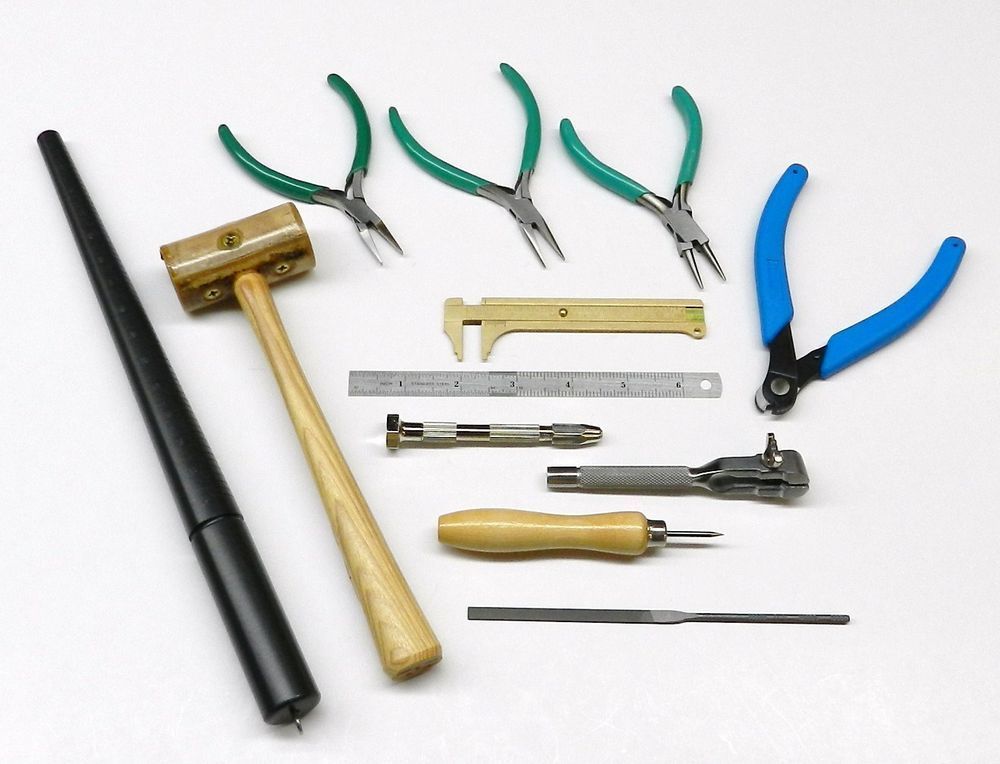
Choice of Tools and Materials
Once you've established your design, select the materials that match your vision.
You can use a variety of materials to create a unique necklace, such as pearls, gemstones, charms, pendants, chains and more.
Make sure the materials are of high quality and compatible with each other to guarantee the necklace's durability and aesthetic appeal.
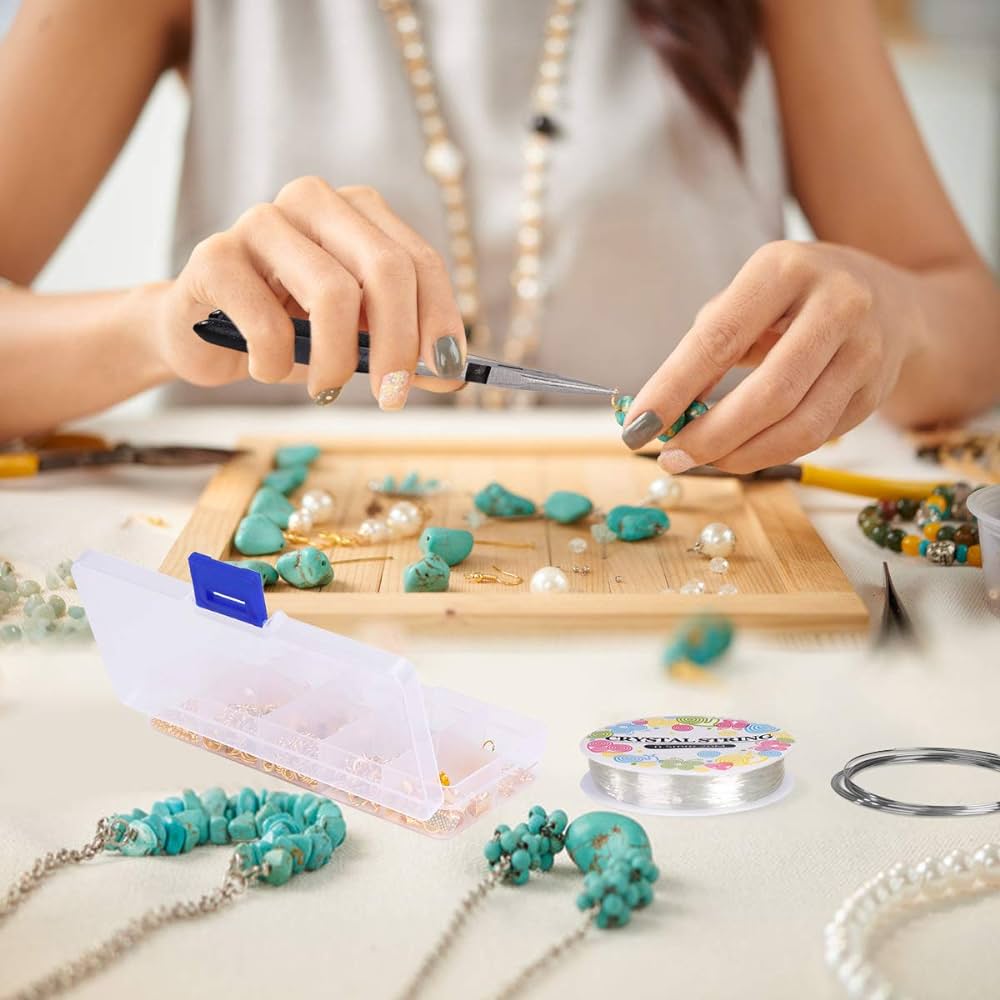
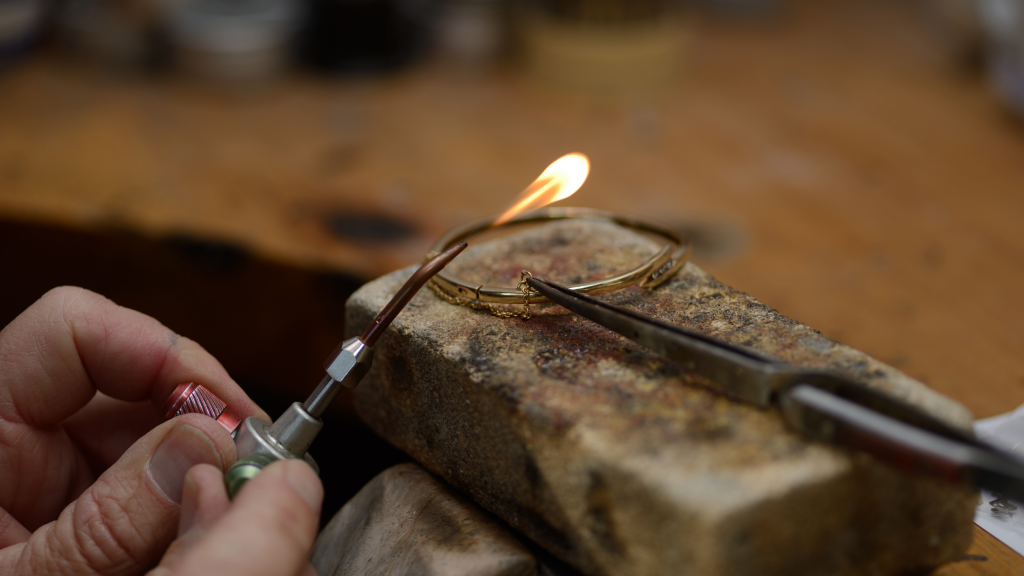
Material Preparation
Before you start assembling, prepare your materials by sorting, cleaning and organizing them according to your intended design.
If you're using pearls or gems, make sure they're pierced and ready to be strung.
If necessary, use pliers and tools to open the connecting rings and prepare the elements for assembly.
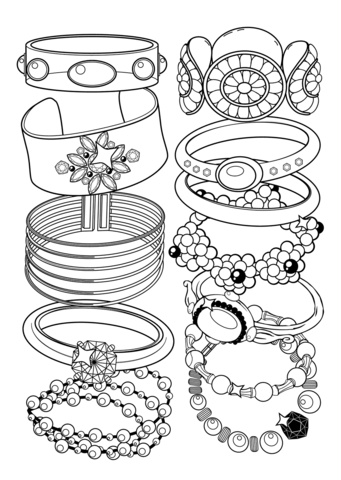
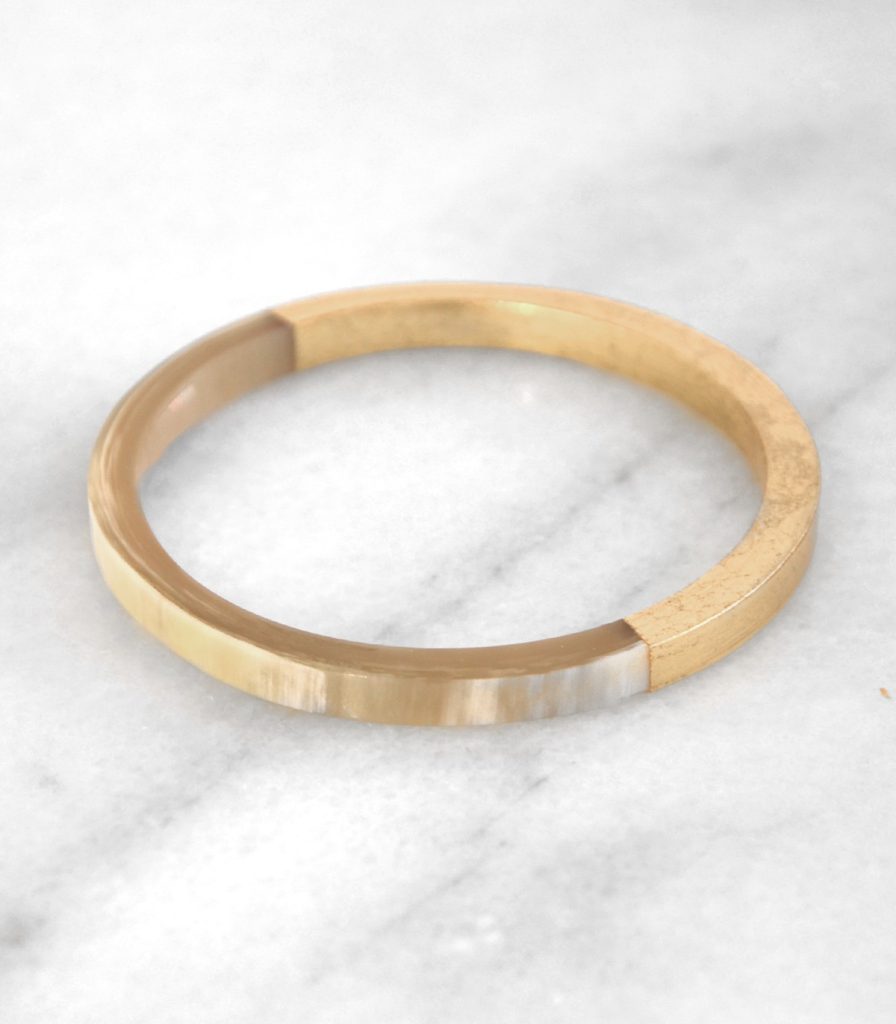
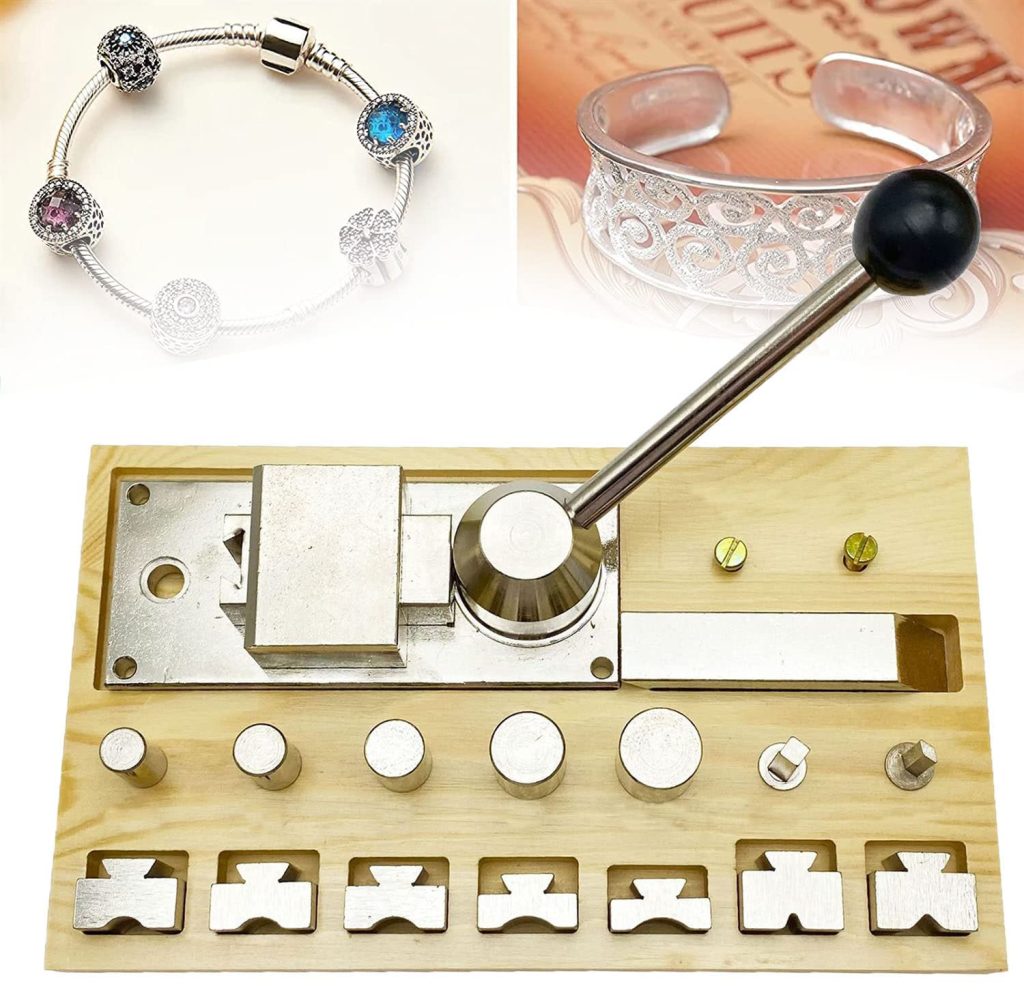
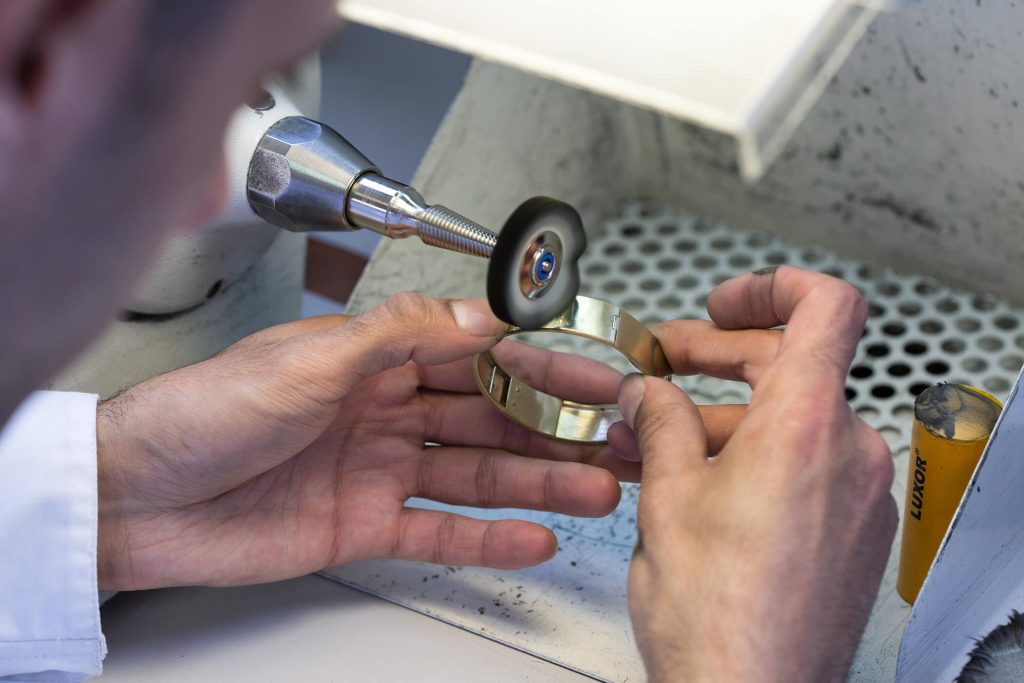
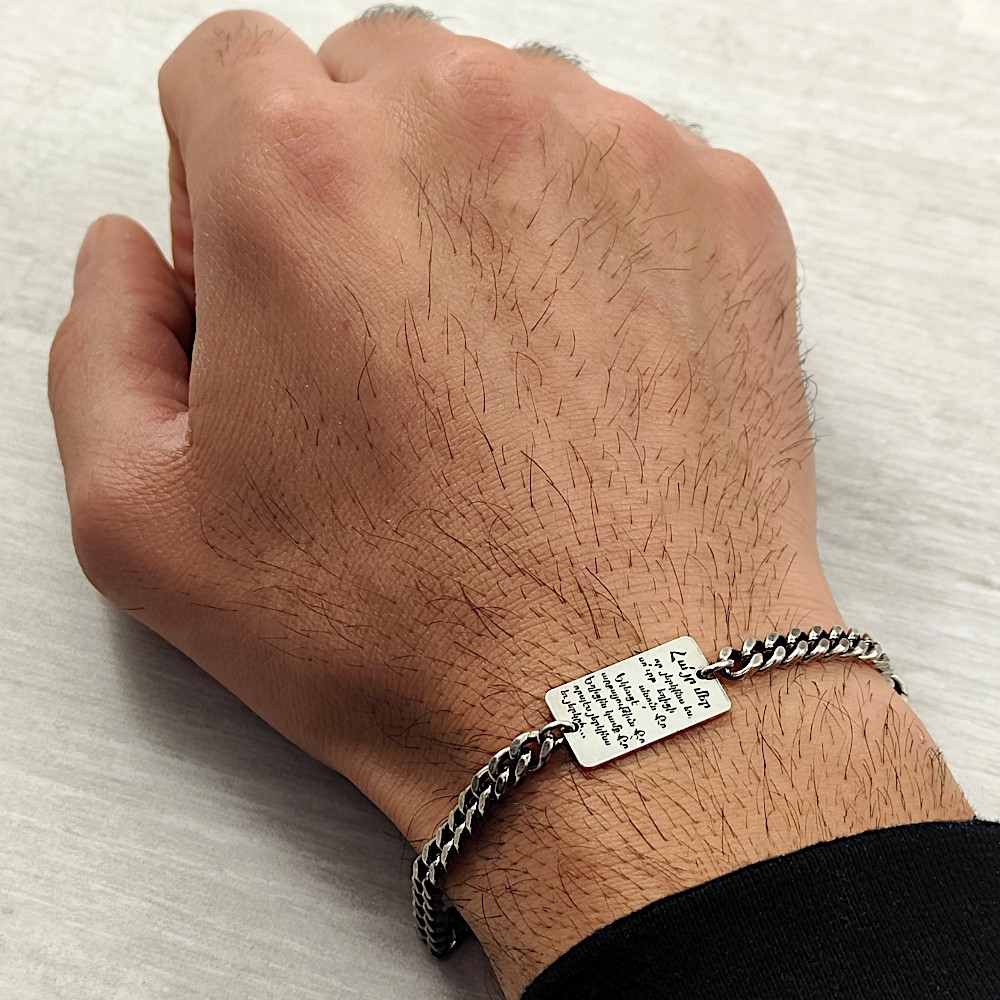
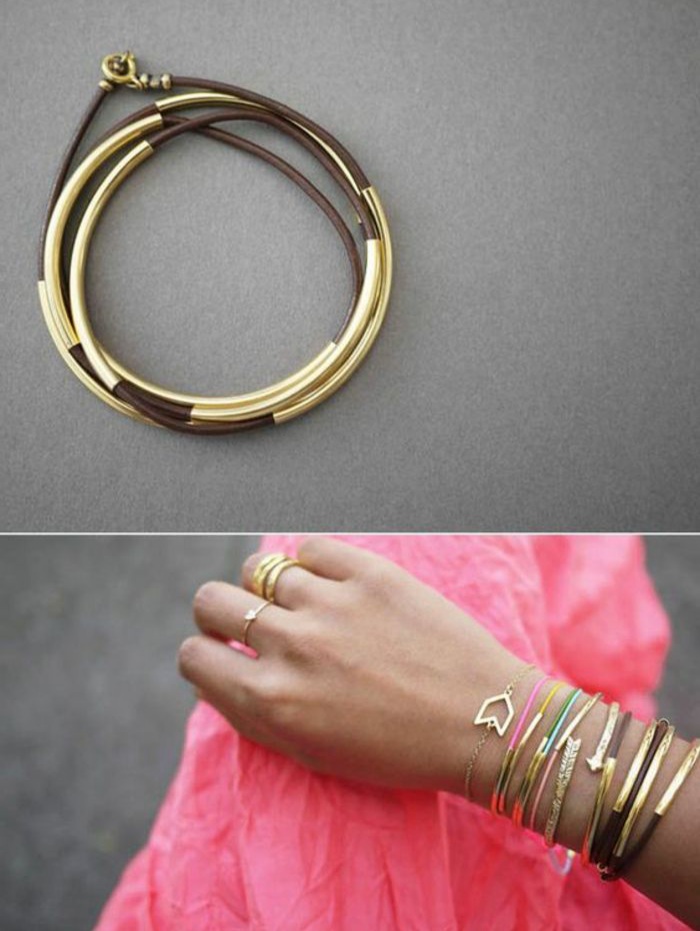
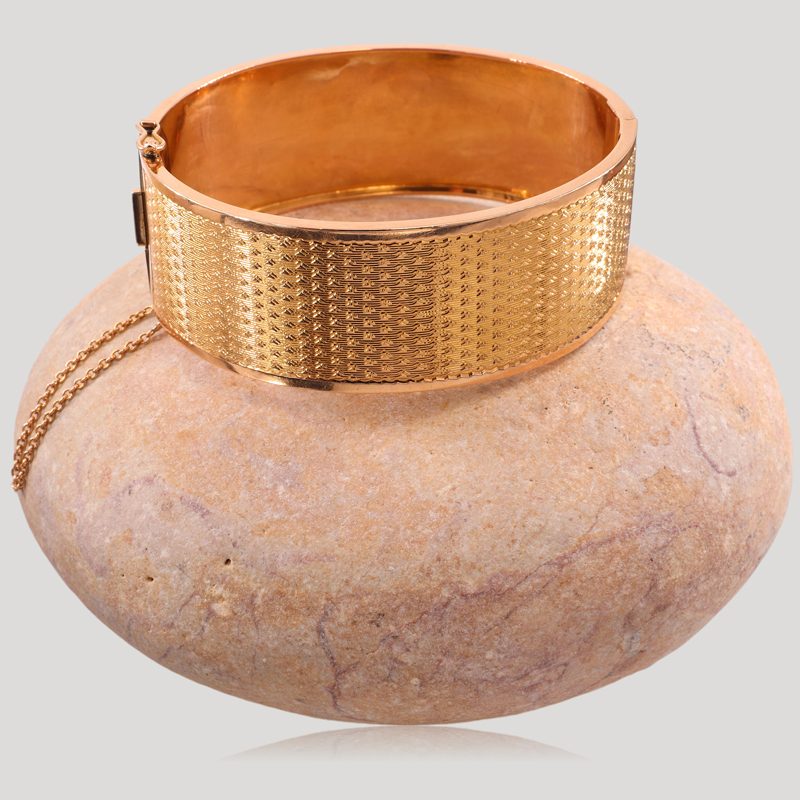
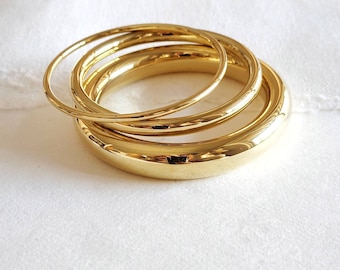
Creation of a bangle bracelet
Assembling the Bracelet Elements
Start by assembling the basic bracelet elements according to your design scheme.
Use jewelry pliers to open and close the connecting rings and securely fasten the elements together.
Be sure to maintain symmetry and consistency in the arrangement of the elements for a harmonious result.
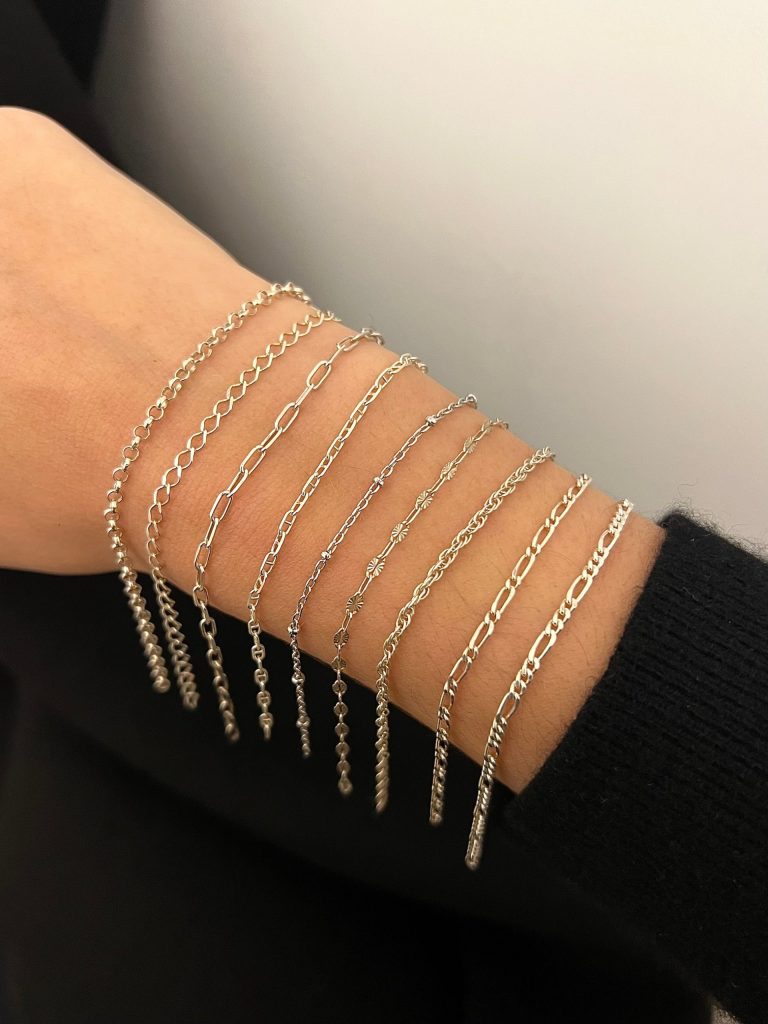
Creating a beaded bracelet
Clasp assembly
Once the main elements have been assembled, it's time to mount the bracelet clasp. Select a clasp to suit your design and attach it securely to the ends of the bracelet using jewelry pliers. Make sure the clasp is secure to prevent loss or damage.
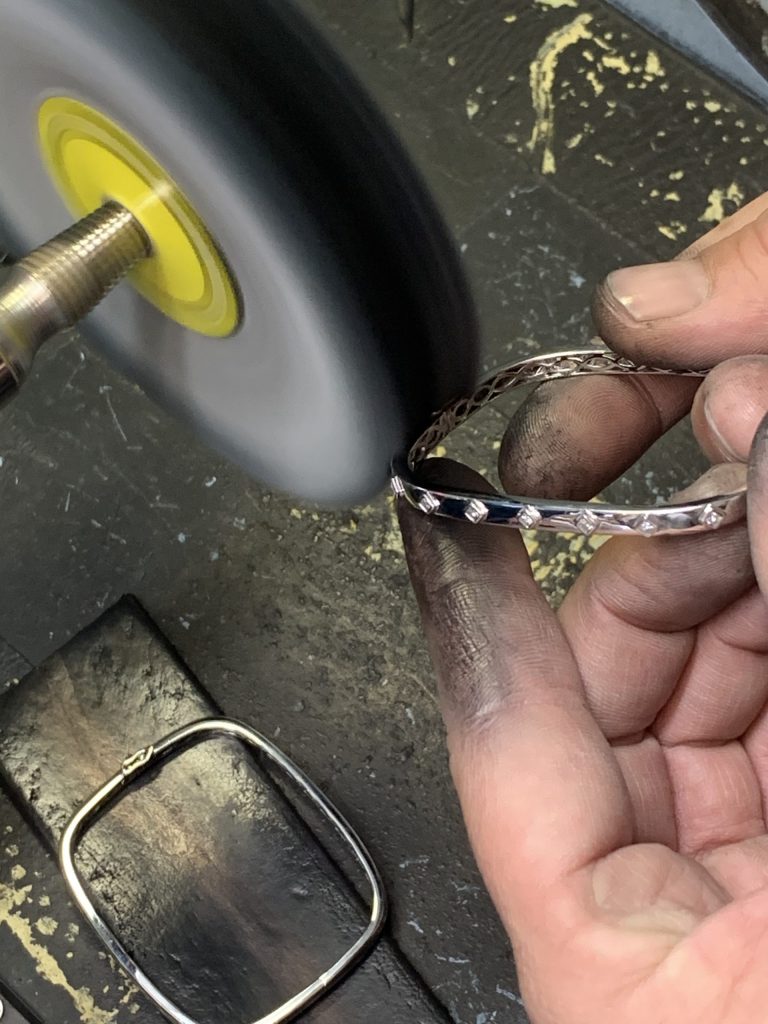
Finishing and Quality Control
Once the bracelet has been assembled, take the time to check each component to ensure that it is securely fastened and free from defects. Adjust components if necessary, and make sure the bracelet is comfortable and secure to wear.
Testing and Retouching
Put the bracelet on and check its appearance and fit. Make sure it sits comfortably on your wrist and doesn't slip. If adjustments are necessary, make the appropriate alterations to ensure that the bracelet is perfectly suited to your wrist and style.
Presentation and Finish
Once the bracelet is perfectly fitted and ready to wear, prepare it for presentation. You can wrap it in a pretty jewelry box or display it on a stand to highlight its beauty. Be sure to store the bracelet in a safe place to prevent damage and prolong its life.
Tips for a Successful Creation
By following these simple but important steps, you can create a beautiful, personalized bracelet that will complement your outfit and style. Use your creativity and imagination to explore new ideas and techniques, and don't be afraid to experiment with different materials and styles to create unique and memorable pieces.