Fabrication steps :
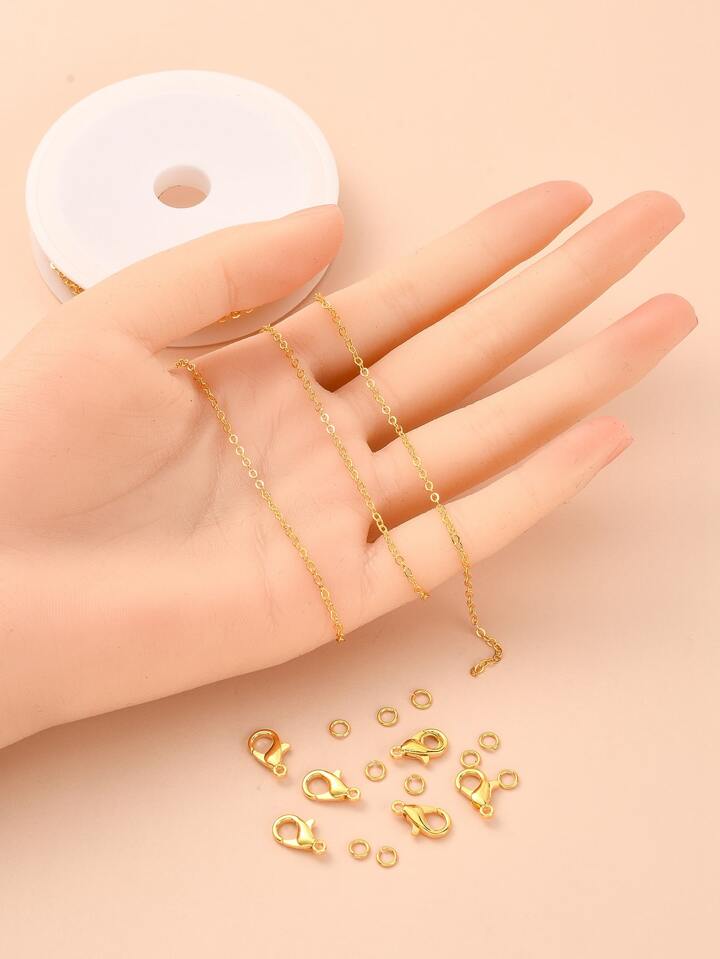
1. Chain selection :
Select the chain you'd like to use for your necklace. You can choose between metal, leather, fabric or any other material that suits your style.
2. Measure and cut:
Measure the desired length of your necklace using a tape measure or by estimating the length around your neck.
Use scissors to cut the chain to the desired length. Be sure to leave a little margin to secure the clasp.
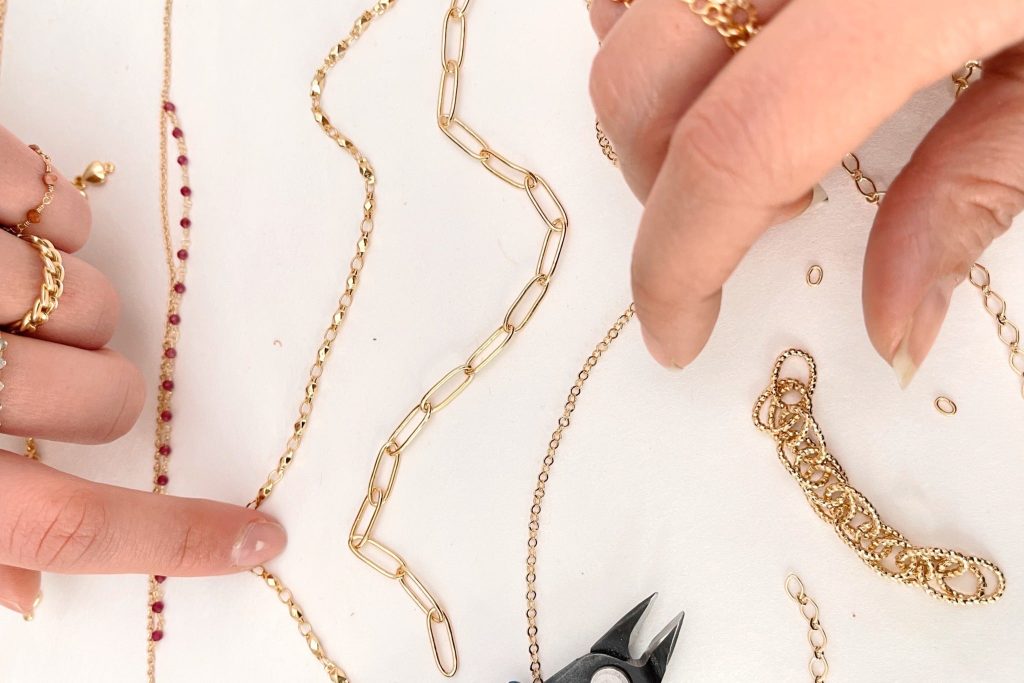
3. Attaching the clasp :
Attach a connecting ring to each end of the chain using jewelry pliers.
Attach the clasp to one of the connecting rings using jewelry pliers. Make sure the clasp is secure.
4. Decoration (optional):
If you like, you can add beads, pendants or charms to your necklace to decorate it.
Use joining rings to attach pearls, pendants or charms to the chain. Make sure they're secure by closing them with jewelry pliers.
5. Finishing:
Once you've added all the desired decorations, make sure all the junction rings are securely closed and the clasp is securely fastened.
Review your necklace to make sure it's clean and well finished. Trim any excess chain or connecting rings if necessary.
Planning and Design
Before you start making your necklace, it's essential to define the style, length and materials you want to use.
Sketch out your design on paper to get a clear idea of the layout and structure of the necklace.
Also consider practical aspects such as the size of the clasp and the type of wire to be used.
Choice of Tools and Materials
Once you've established your design, select the materials that match your vision.
You can use a variety of materials to create a unique necklace, such as pearls, gemstones, charms, pendants, chains and more.
Make sure the materials are of high quality and compatible with each other to guarantee the necklace's durability and aesthetic appeal.
Material Preparation
Before you start assembling, prepare your materials by sorting, cleaning and organizing them according to your intended design. If you're using pearls or gems, make sure they're pierced and ready to be strung. If necessary, use pliers and tools to open the connecting rings and prepare the elements for assembly.
Creating the pendant
Once the design is finalized, it's time to select the materials and tools needed to make the ring.
You'll need high-quality gold, usually in sheet or wire form, and the gemstone of your choice.
In addition to materials, make sure you have jewelry tools such as pliers, hammers, files and flashlights to work the metal.
Adding decorative elements
Assembling the Collar Elements
Start by assembling the basic necklace elements, such as beads or pendants, according to your design scheme.
Use jewelry pliers to open and close the connecting rings and securely fasten the elements together.
Be sure to maintain symmetry and consistency in the arrangement of the elements for a harmonious result.
Clamp assembly
Once the main elements have been assembled, it's time to mount the necklace chain. Select a chain of the appropriate length and attach the main elements using clamps or clasps. Make sure the chain is secure and that the necklace is comfortable to wear.
Finishing and Quality Control
Once the collar is assembled, take the time to check each component to ensure that it is securely fastened and that the collar is free from defects. Adjust the elements if necessary and add any finishing touches, such as adding a clasp or extension chain to adjust the length of the collar.
Testing and Retouching
Put the necklace on and check its appearance and fit. Make sure it sits comfortably on your neck and enhances your outfit. If adjustments are necessary, make the appropriate alterations to ensure that the necklace is perfectly suited to your needs.
Presentation and Finish
Once the necklace is perfectly fitted and ready to wear, prepare it for presentation. You can wrap it in a pretty jewelry box or display it on a stand to show off its beauty. Be sure to store the necklace in a safe place to prevent damage and prolong its life.
Tips for a Successful Creation
By following these simple but important steps, you can create a beautiful, personalized necklace that will catch the eye and inspire admiration. Use your creativity and imagination to explore new ideas and techniques, and don't be afraid to experiment with different materials and styles to create unique and memorable pieces.