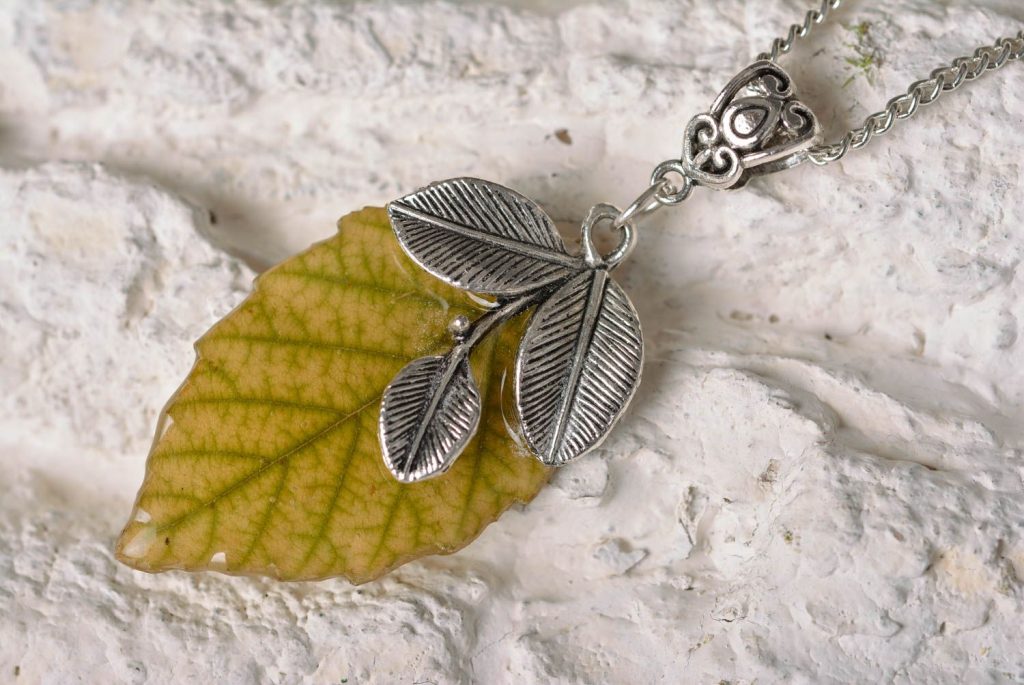
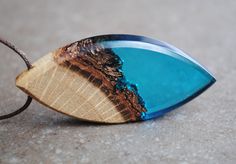
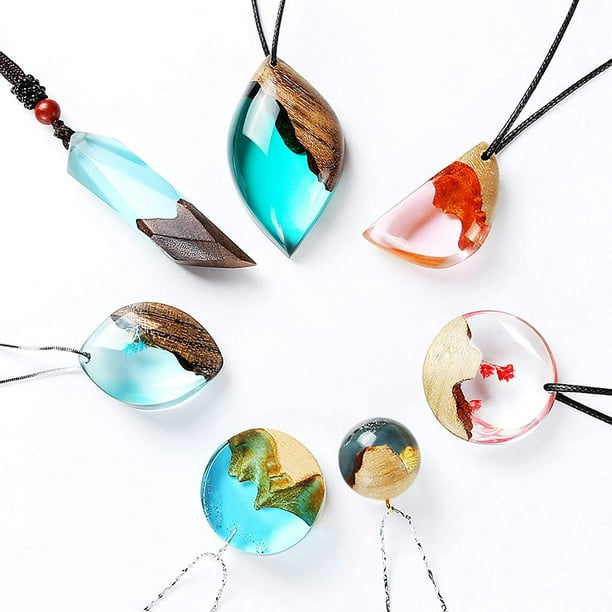
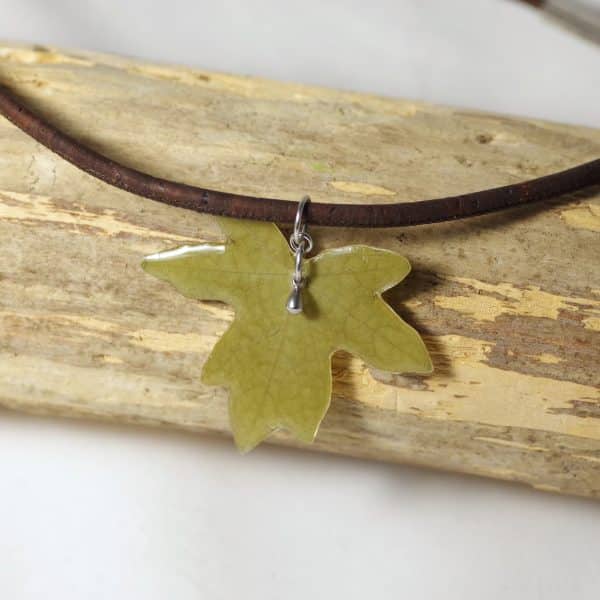
Resin and Wood Leaf Pendant
Creating a leaf-shaped pendant from resin and wood is a creative and exciting undertaking, combining the natural beauty of wood with the versatility of resin to achieve a unique and striking result.
In this chapter, we'll explore in detail the steps required to make a leaf-shaped pendant using these materials, highlighting techniques and tricks for an outstanding end result.
Materials required:
- Transparent epoxy resin
- Colored pigments (optional)
- Piece of fine wood (preferably with an interesting grain)
- Sandpaper
- Leaf-shaped silicone mold
- Wooden or plastic stir sticks
- Mounting pendant or bezel
- Drill (optional)
- Clear varnish (optional)
- String or chain for necklace
Fabrication steps :
1. Prepare the wood:
Start by cutting or trimming the piece of wood to the desired shape and size for your leaf pendant.
Use sandpaper to smooth the edges and surfaces of the wood, making sure they are even and free from splinters.
2. Prepare the mold:
Choose a leaf-shaped silicone mold that matches the size of your wooden pendant.
Clean the mold and make sure it's dry before starting to work with the resin.
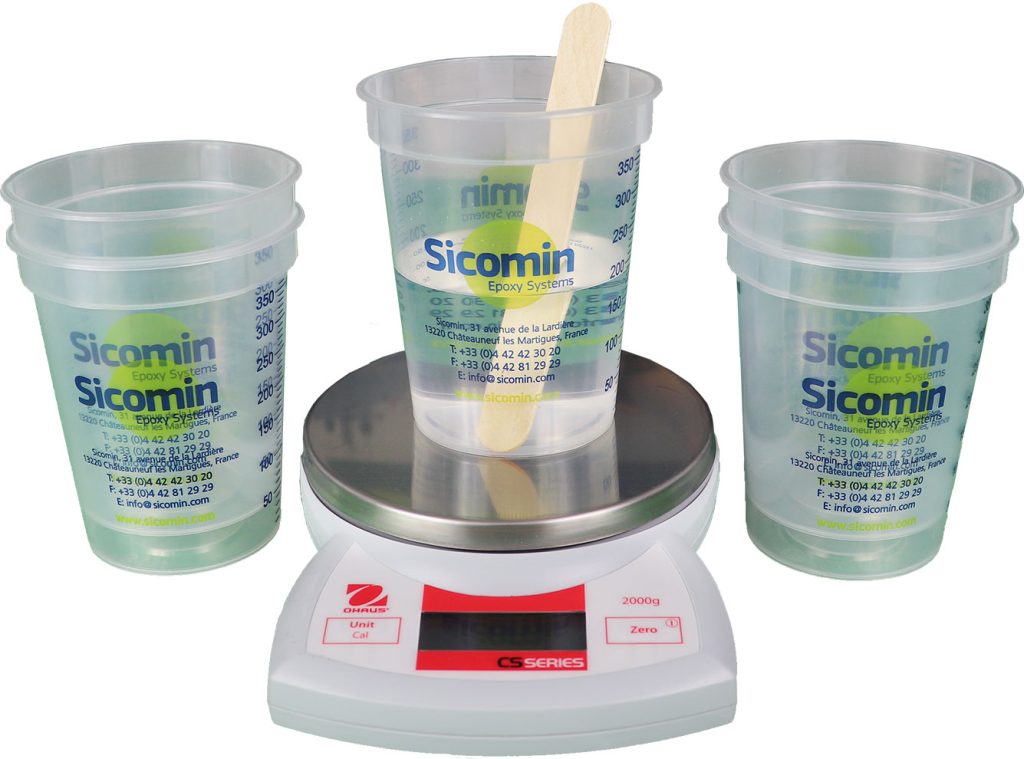
3. Resin preparation :
Follow the manufacturer's instructions for preparing transparent epoxy resin. This usually involves mixing two components in specific proportions.
Add color pigments to the resin if you wish to give your leaf pendant a particular hue.
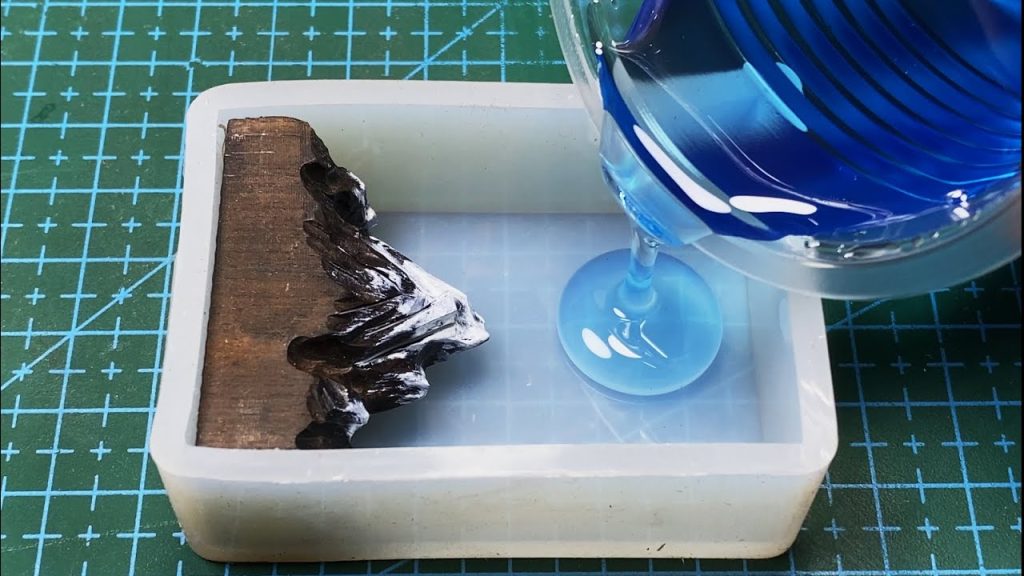
4. Filling the mold :
Pour the resin into the silicone mold until it is almost full. Carefully place the prepared piece of wood in the center of the resin in the mold. Make sure it is centered and does not touch the edges of the mold.
5. Curing the resin :
Allow the resin to harden according to the manufacturer's instructions. This may take several hours or more, depending on the type of resin used and the environmental conditions.
Be sure to allow sufficient time for the resin to harden completely before proceeding to the next step.
6. Demolding and finishing :
Once the resin is fully cured, carefully remove the leaf pendant from the silicone mold.
If necessary, use a drill to make a small hole in the top of the pendant to attach a hanger or mounting pendant.
You can also lightly sand the edges of the pendant to smooth them further.
Apply a clear varnish to the resin and wood pendant to give it an extra shine and protect it.
7. Mounting the necklace :
Attach a cord or chain to the pendant with a clasp or mounting pendant.
Make sure the pendant is securely attached to the necklace before wearing it.
Pendant design
The first step in making a leaf pendant is to conceive the design.
Sketch out your idea on paper, taking into account the size, shape and details of the leaf you wish to create.
Also choose the type of wood you'll use for the pendant and decide how you'll incorporate the resin into the design.
- Leaf shape: Define the desired leaf shape (round, oval, lobed, etc.).
- Wood type: Choose a wood with a grain and color you like (oak, walnut, maple, etc.).
- Resin color: Choose a transparent, translucent or opaque resin, and add pigments if you wish.
- Decorative elements: Consider adding inclusions to the resin (glitter, dried flowers, etc.).
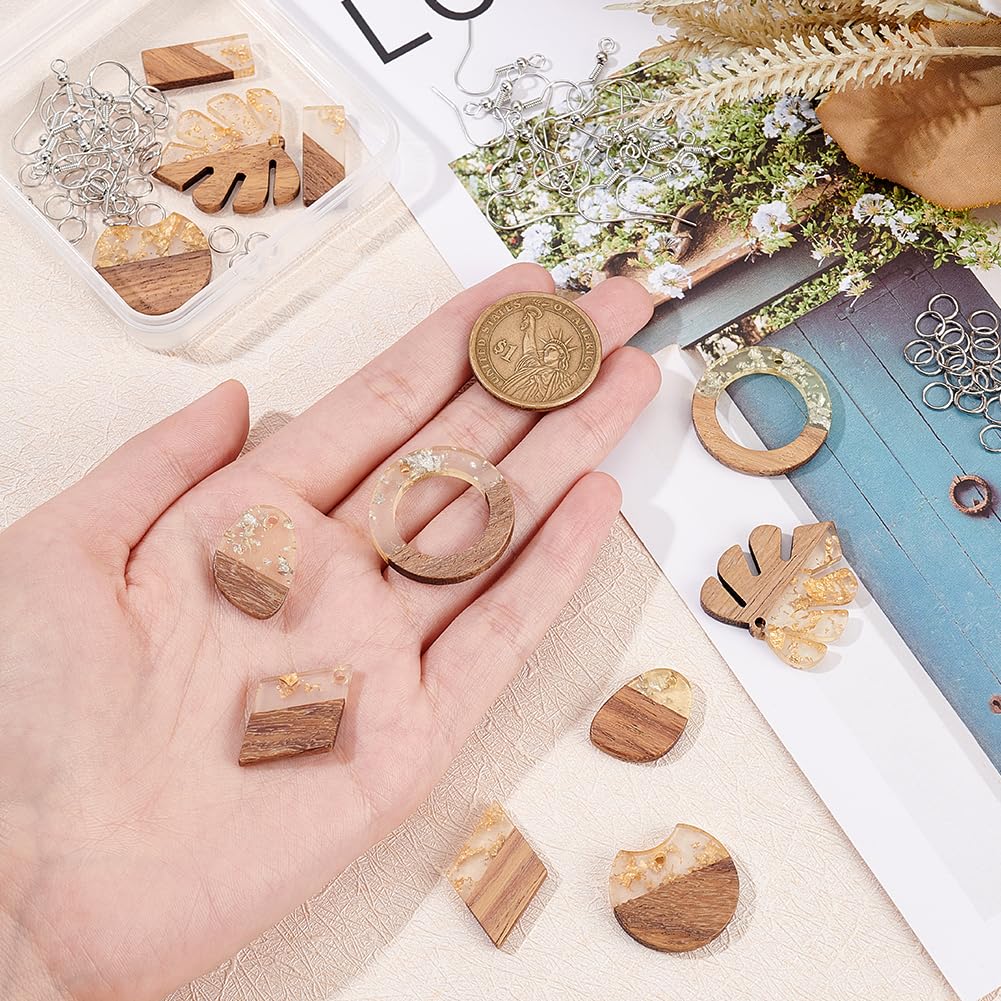
Choice of Tools and Materials
- Basic tools: pliers, files, cutters, etc.
- Jewelry tools: scroll saw, drill, chuck, etc.
- Materials: thin sheet of wood, epoxy resin, resin pigments, silicone molds (optional), metal wire, clasp.
Wood preparation
Start by selecting a piece of wood that suits your design. Choose a hard, dense wood that can be easily carved and polished. Cut the wood to the desired size for the pendant using a wood saw, then use carving tools to shape the wood into the leaf shape of your intended design.
- Choose the sheet of wood: Select a thin, flat sheet of wood about 1 mm thick.
- Cut out the shape: Cut out the desired leaf shape from the sheet of wood using a scroll saw or cutter.
- Sanding: Smooth the edges and surface of the sheet with sandpaper.
- Finishing: Apply an oil or varnish to protect the wood.
Resin casting
Place the carved piece of wood on a flat, protected surface or in a mold, then carefully pour the mixed resin over the wood to completely cover its surface. Use a spatula or stick to spread the resin evenly and eliminate any air bubbles. Allow the resin to harden according to the manufacturer's instructions.
- Positioning: Carefully place the wood leaf in the resin, positioning it optimally.
- Pouring the resin: Carefully pour the mixed resin into the leaf-shaped silicone mold.
- Remove bubbles: Use a blowtorch or hair dryer to remove any air bubbles in the resin.
- Curing: Leave the resin to cure for 24 to 48 hours, depending on the drying time indicated.
- Demolding: Carefully remove the silicone resin sheet from the mold.
Sculpture Details
Once the resin has hardened, you can carve additional details into the pendant using fine carving tools.
Create leaf ribs, detailed contours and realistic textures to bring your design to life. Take your time and be precise in your movements to achieve an impressive final result.

Finishing and Polishing
Once the pendant is carved and the details added, take the time to sand and polish it to a smooth, shiny surface. Use fine-grain sandpaper to smooth the edges and remove imperfections, then polish the surface with a polisher to make the wood and resin shine.
Pendant assembly
Drilling
- Drill a hole in the resin sheet for the metal wire.
Wire fastening
- Insert the metal wire into the hole and secure with pliers.
Adding the clasp
- Attach the clasp to the end of the chain or wire.
Quality Control and Finishing
Before wearing your leaf pendant, perform a quality check to ensure that it is solid and well finished. Check that there are no visible flaws or imperfections, and make sure the clasp is secure. Once you're satisfied with the result, your leaf pendant is ready to be worn and admired.

Inspiration and Variations
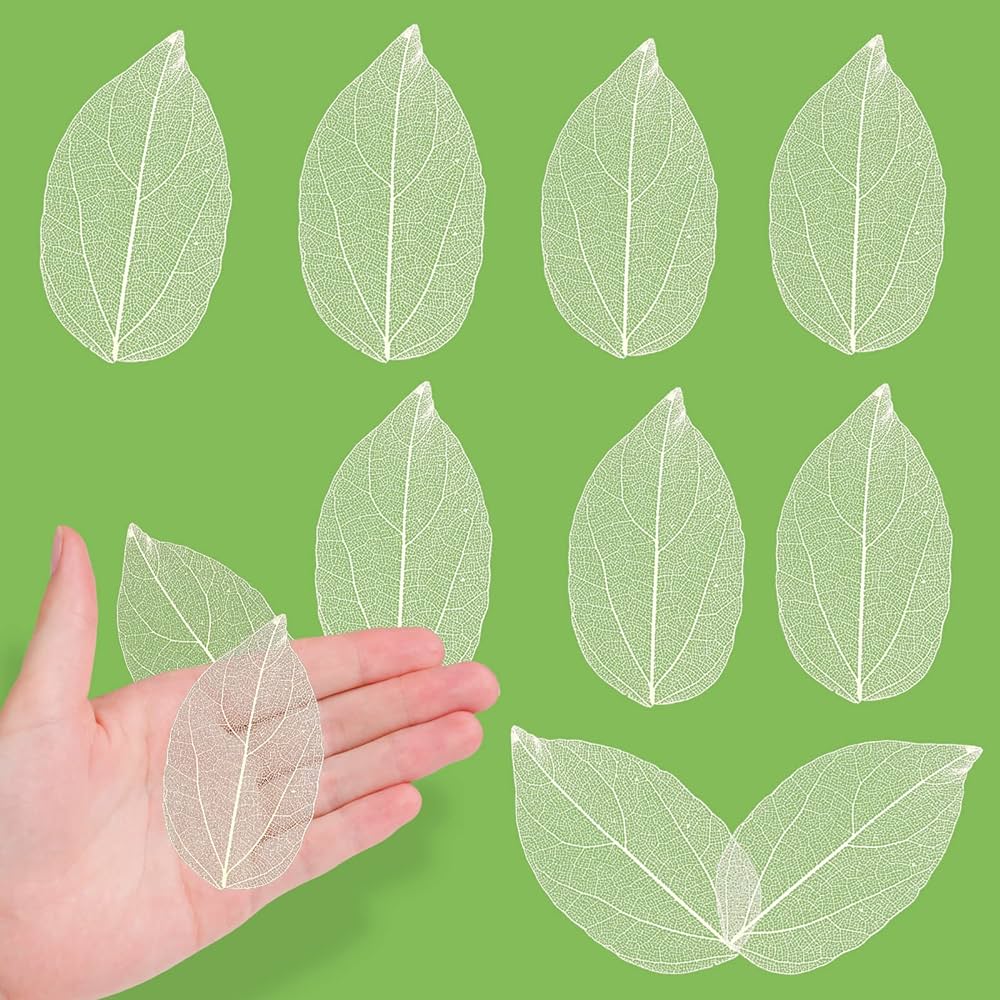
Skeletonized leaf
- Use a real sheet of paper as a template.
- Glue it between two sheets of greaseproof paper and iron several times.
- Once blackened, carefully remove the leaf to obtain a plant skeleton that you can inlay in resin.

Gradient effect
- Pour the resin in layers of different colors to create a gradient, multicolored effect in the pendant.
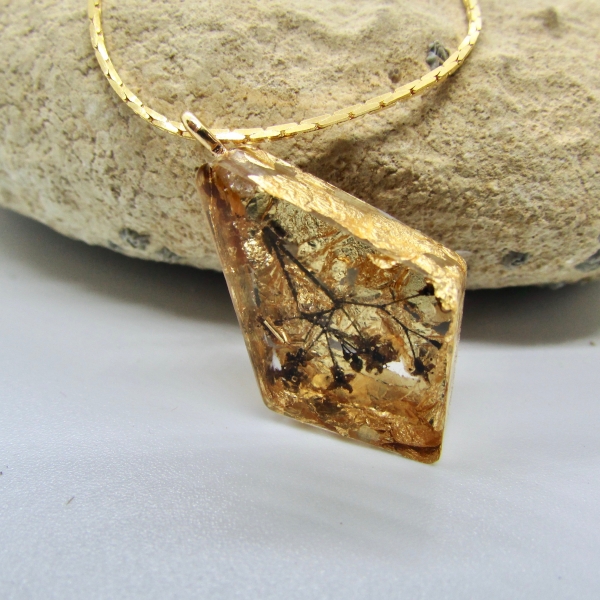
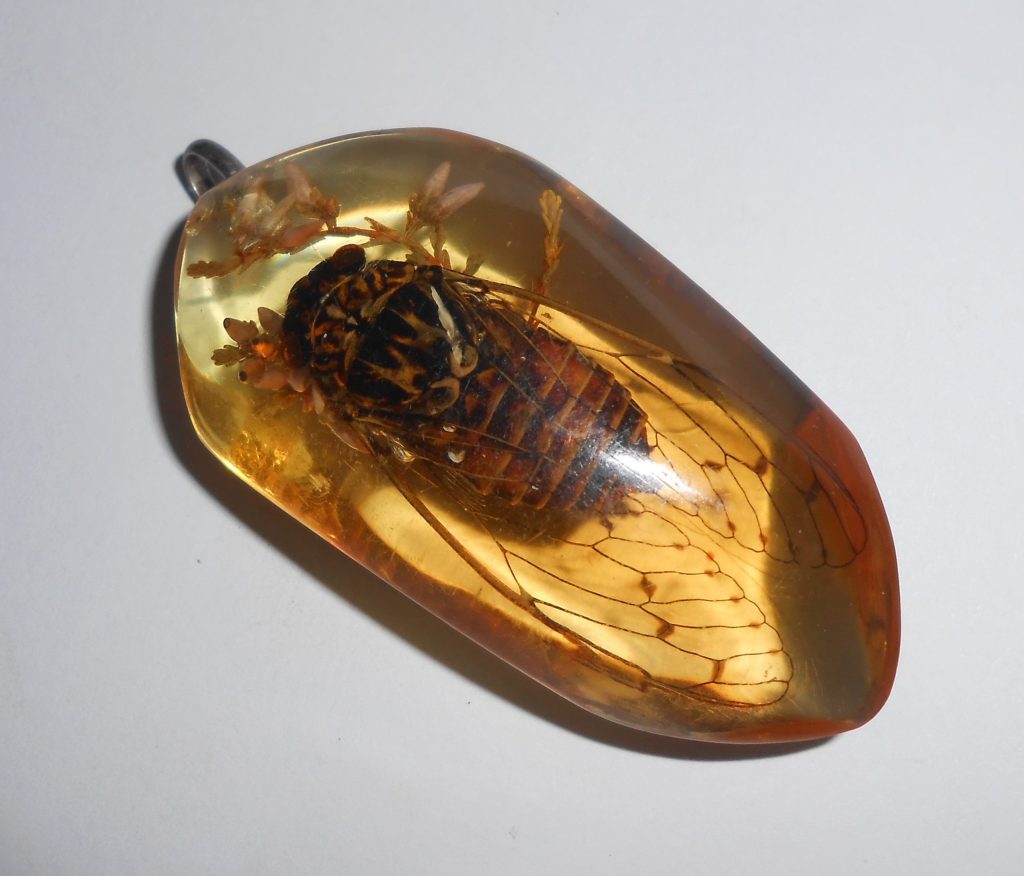
Insect inclusion
- If you want to add a touch of originality, you can include small dried insects in the resin.

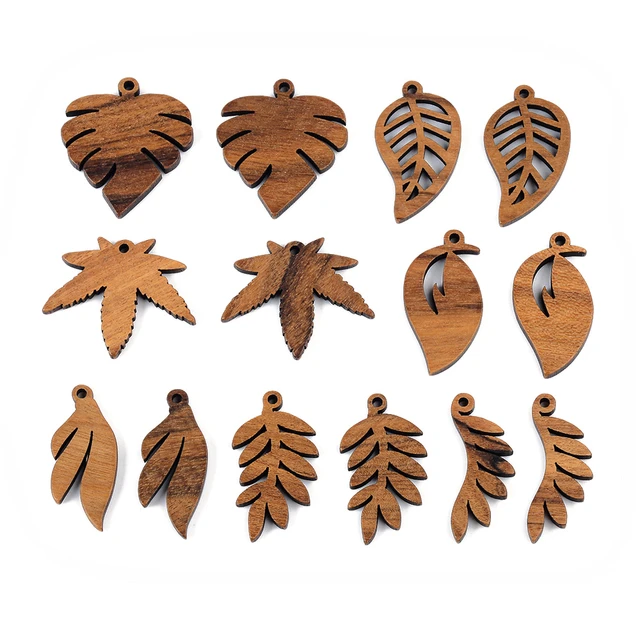
Composite sheet
- Instead of a single leaf, cut and incorporate several small wooden leaves to create a leaf-shaped pendant.
Marble effect
- Add a drop of a different color to the resin before pouring in the entire mixture. Gently tilt the mold to create a marbled, organic effect.
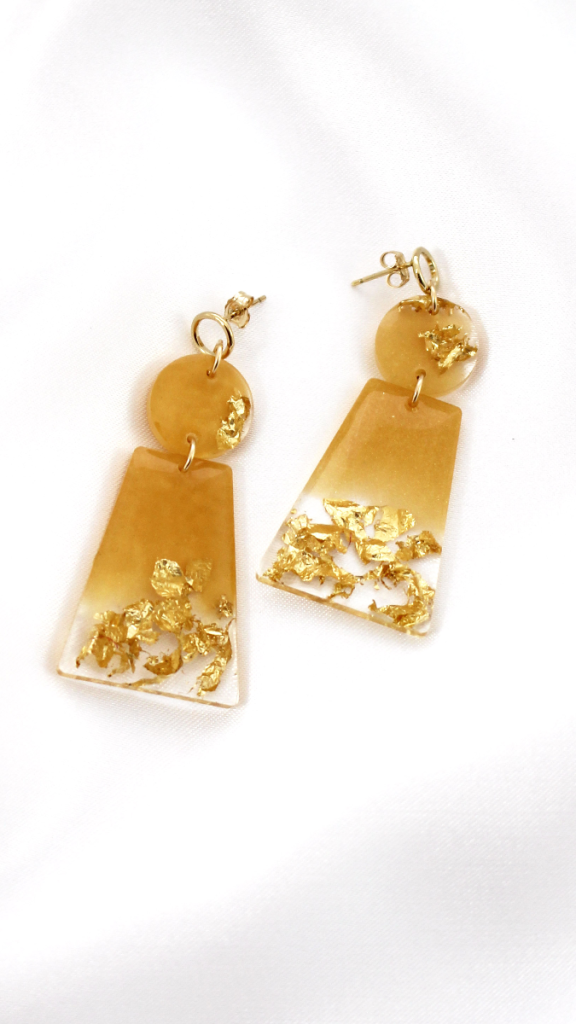
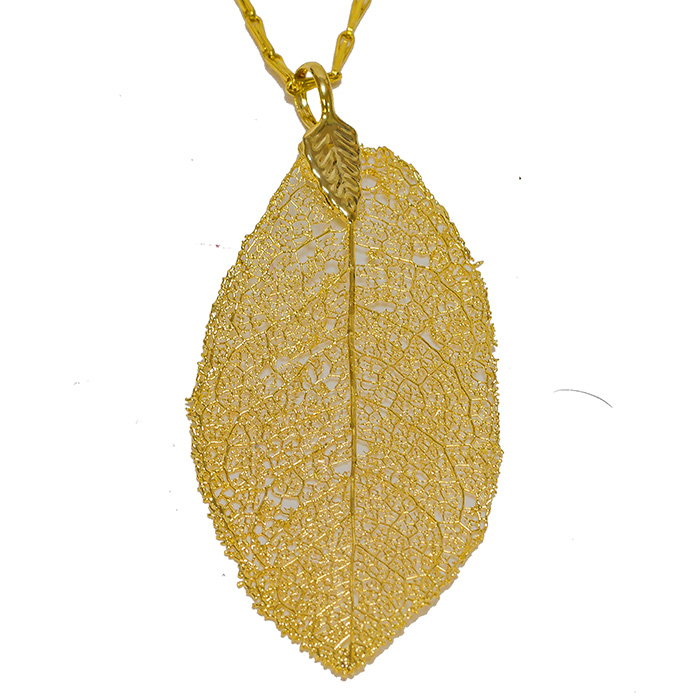
Partial gilding
- Once the pendant is finished, apply gold paint or gold leaf to certain parts of the wood for a touch of elegance.
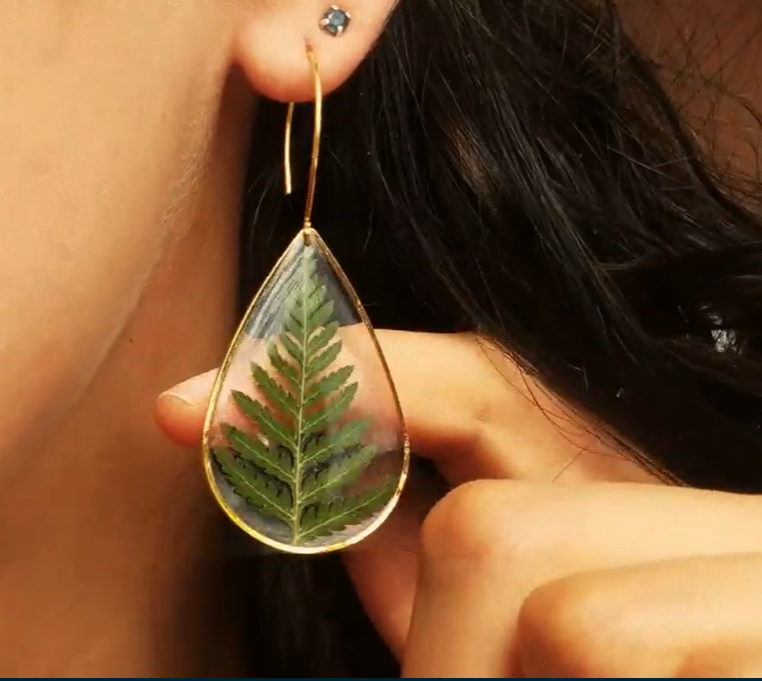
Natural leaf molding
- Instead of cutting a wooden leaf, you can make a mold of a real leaf and pour the resin inside for a more natural texture.


Metal foil
- Cut the leaf shape from a thin sheet of metal and partially cover it with resin to create a shiny, textured pendant.
Custom silicone molding
- If you can't find a silicone mold to fit your leaf shape, you can make your own using a real leaf and liquid silicone.
Tips for a Successful Creation
- Prepare your workspace: make sure you have a clean, well-lit space to work in.
- Protect yourself: wear protective gloves and mask when handling the resin.
- Follow dosage instructions: carefully follow the manufacturer's instructions for mixing resin and hardener.
- Take your time: work with precision and patience to achieve impeccable results.
- Don't hesitate to perfect your skills: take jewelry-making courses or watch online tutorials to learn new techniques.